Tips for Overnight Acatenango Volcano Hike
The Acatenango volcano hike is one of the most popular hikes in Guatemala. Located about an hour from Antigua, this overnight hike is a must on your Guatemala itinerary.
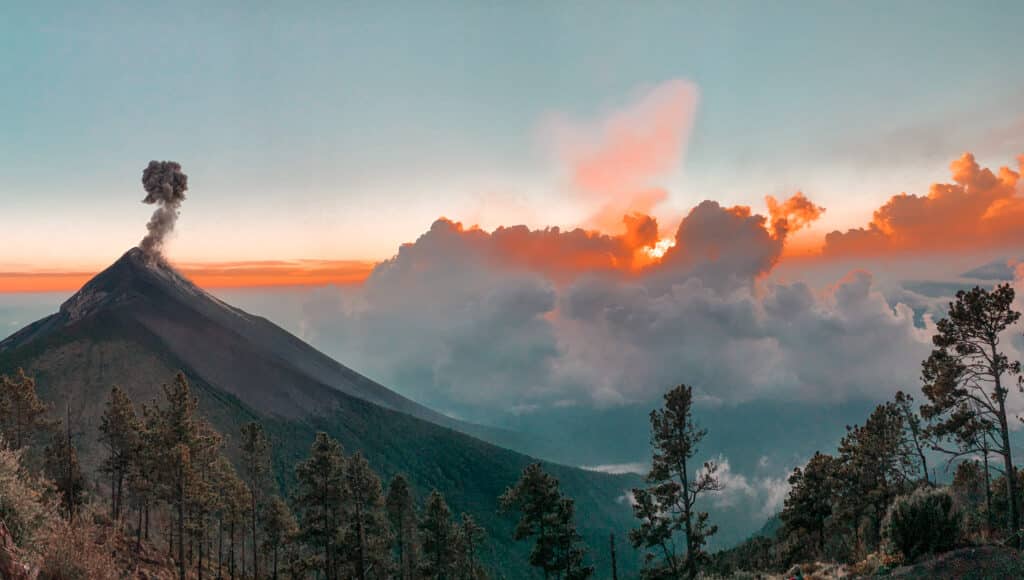
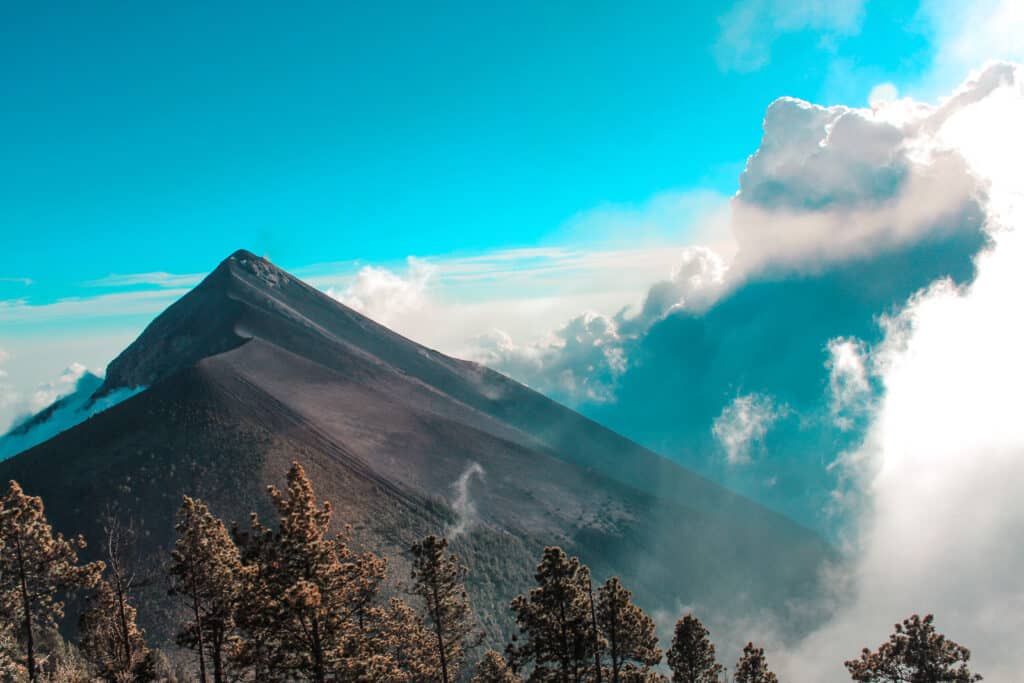
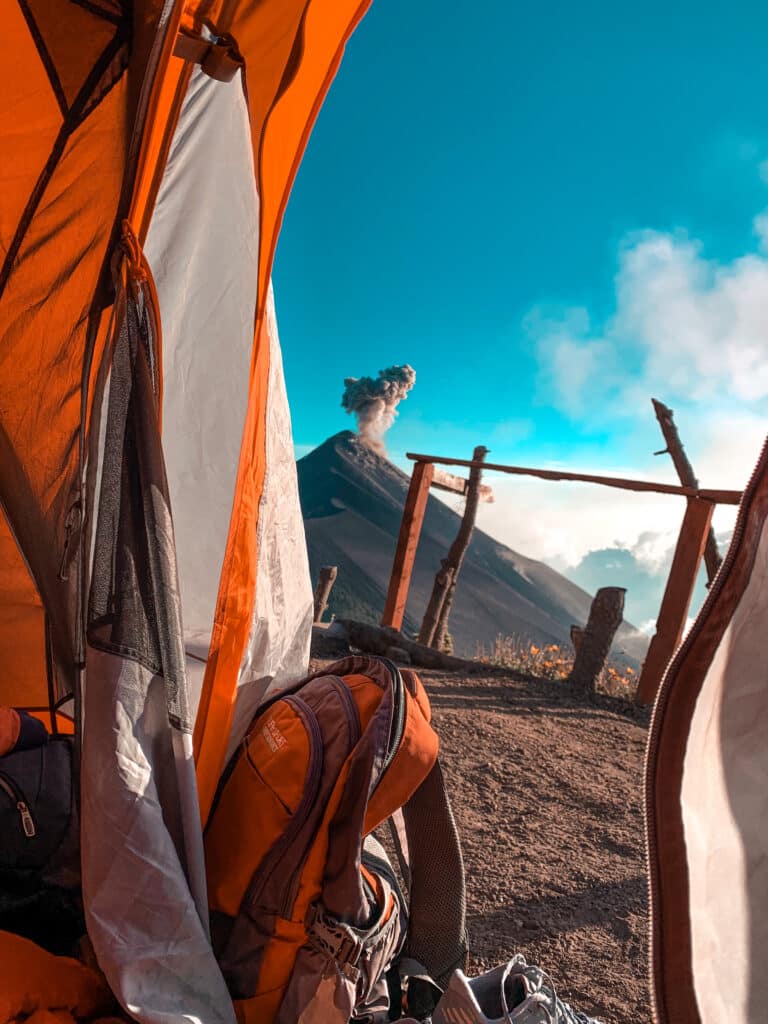
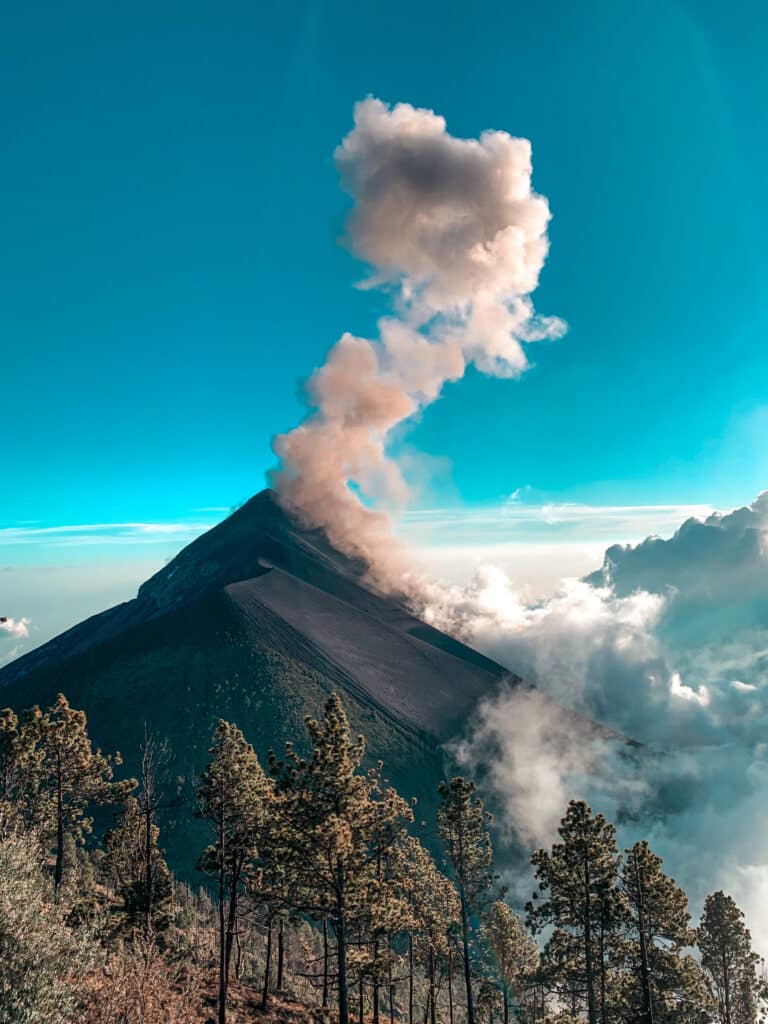
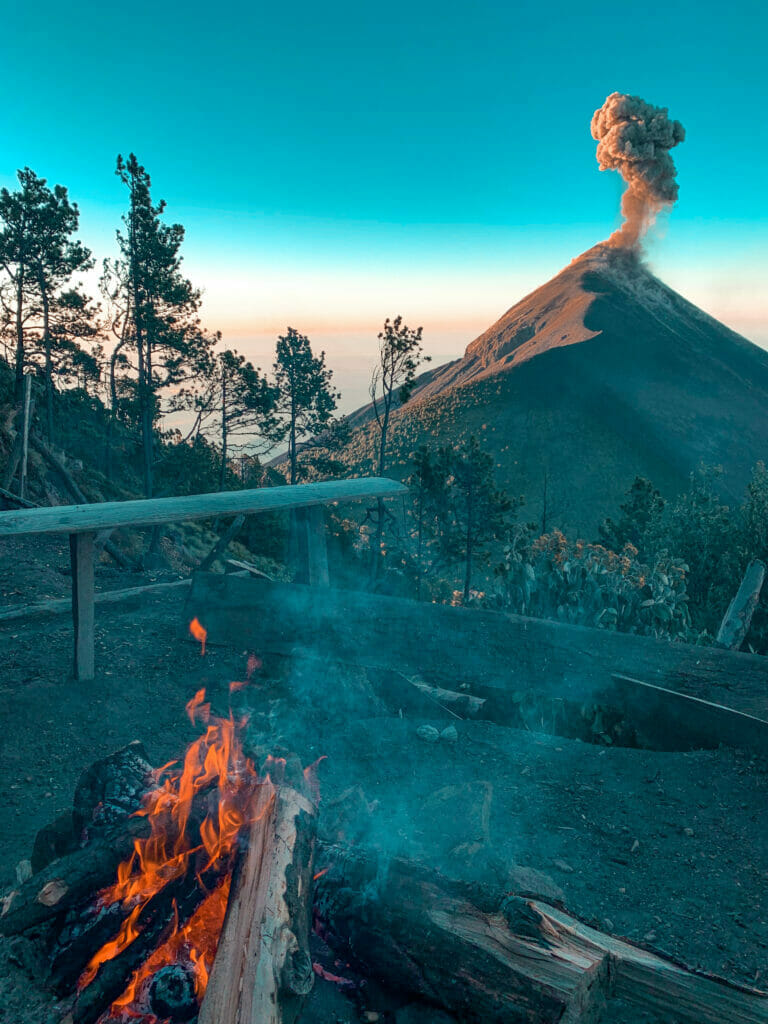
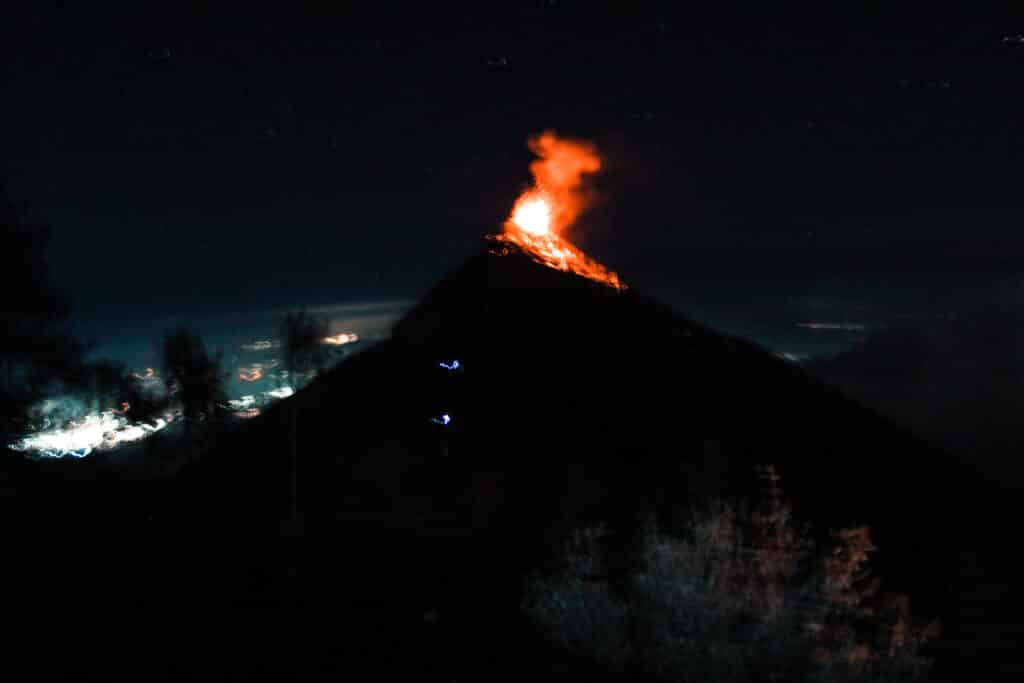
Acatenango is the third tallest volcano in Guatemala. It’s dormant, but it’s directly across from the active Volcan Fuego. One of the most special parts of the overnight Acatenango hike is watching Fuego erupt every thirty minutes or so. Especially at night, you can see the glowing red lava!
It’s also possible to continue on to Fuego during your overnight hike, before returning to Acatenango base camp to sleep and wake up in time to reach the summit of Acatenango at sunrise.
Acatenango Quick Facts
- Elevation: 13,044 feet (3,976 meters)
- Last Eruption: 1972
- Status: Dormant
Fuego Quick Facts:
- Elevation: 12,343 feet (3,976 meters)
- Last Eruption: Erupts ever 30 minutes or so
- Status: Active
Although it’s challenging (definitely the hardest thing I’ve ever done!), this experience is well worth it. Here’s everything you need to know to be prepared for hiking Acatenango!
Best time to hike the Acatenango
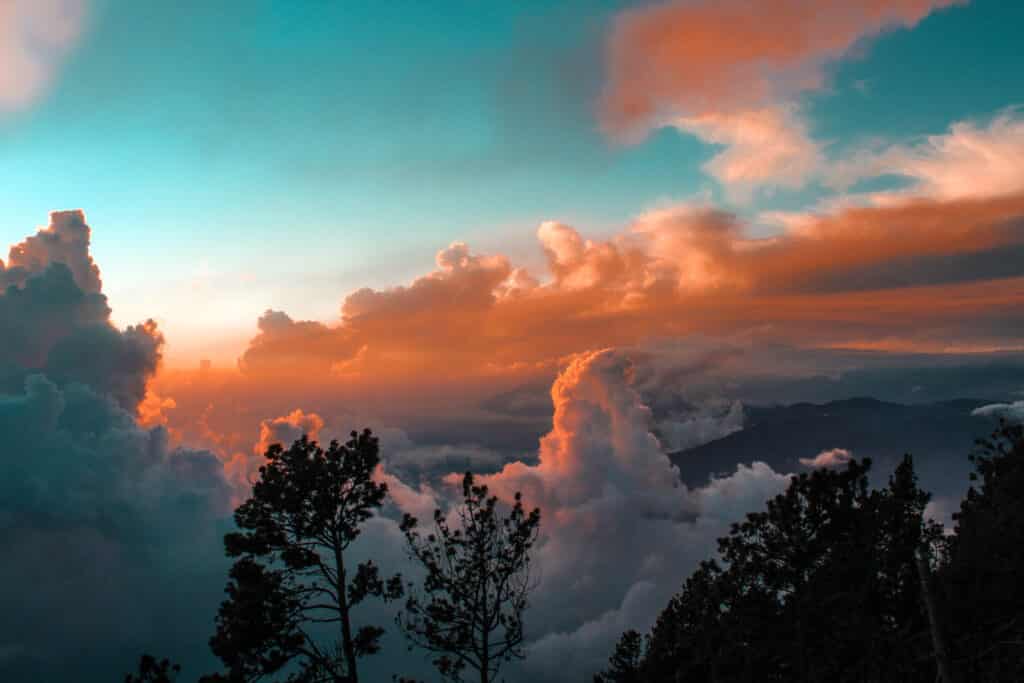
The best time to hike Acatenango volcano (and to visit Guatemala in general) is during the dry season from November to April. While it doesn’t guarantee good weather, it’s more likely you’ll have clear and pleasant conditions compared to the rainy season from May to October.
No matter what time of year you visit, prepare for cold temperatures at the top of the Acatenango volcano! The temperature can plunge down to 30 degrees at night, so bundle up.
Do I Need to Do a Guided Hike?
Short answer, yes, absolutely.
Doing Acatenango independently is not recommended unless you are an extremely experienced hiker. And the guided hikes are not that expensive, so it’s well worth the cost.
I paid Q450 ($57) for my tour at the time through the Tropicana Hostal but there are a few other reliable tour operators.
This included round-trip transportation to and from the volcano, a local guide, porters who carried everything and set up camp for us (all we had to carry were our own backpacks), entry to the national park, and four meals plus evening snacks.
This is honestly one of the best value options out there. I know of other tour providers who charge more and don’t have porters, so you have to carry your own tent/sleeping bags. For this reason, check with your tour operator before you book your Acatenango overnight hike.
Generally, a guided tour will run you between $60 and $120 depending who you book through. But make sure to see exactly what is included before you book!
If you book through Tropicana Hostal, go there in person to make the booking because the prices on their website are higher than what they actually are.
🌋 If you don’t have a whole lot of time, I recommend booking your overnight Acatenango hike in advance as some tours do sell out.
How Long Does It Take?
It’s possible to do Acatenango in a single day, but the most popular option is the overnight hike.
This is because you get to see Fuego erupting at night, and you can watch the sunrise from the summit of Acatenango. It also breaks things up so you aren’t hiking so much in one day.
However, if you’re short on time, it’s possible to do it in a single day.
Not that if you want to do Fuego in addition to Acatenango, you will definitely need to do an overnight hike. (More details on that below!)
For the overnight hike, you will typically hike for four to five hours to reach Acatenango base camp, and then the next morning you will wake up and hike another hour and a half to reach the summit. The descent takes about two hours.
Acatenango Volcano Hike Difficulty
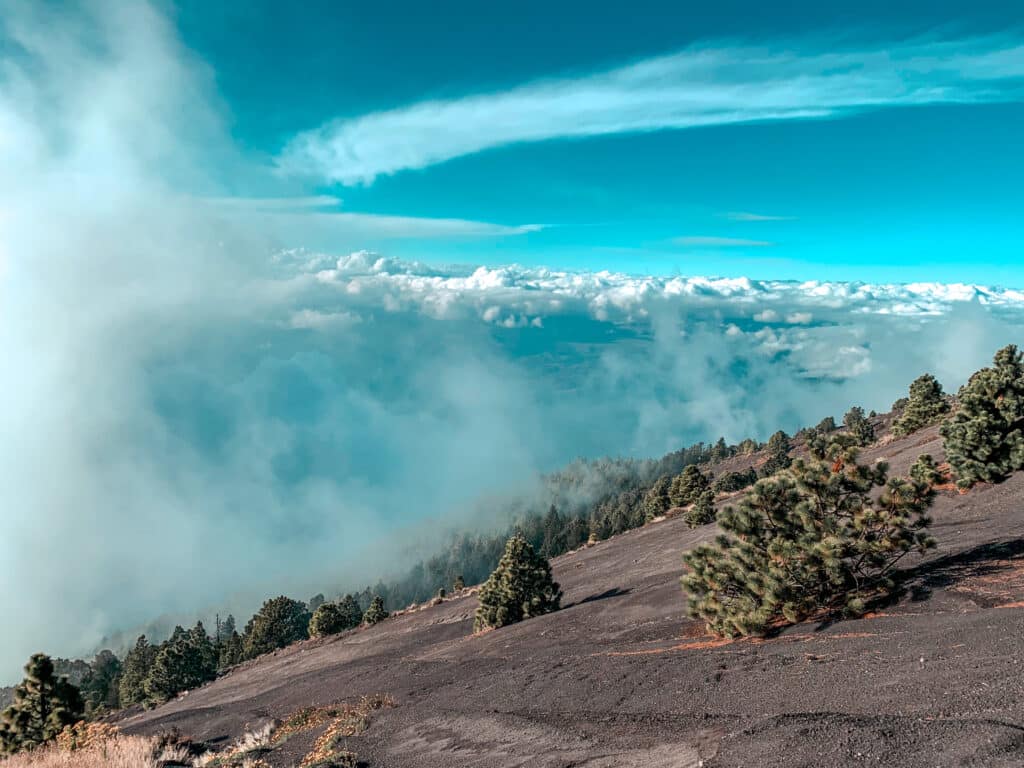
The Acatenango volcano hike is quite difficult. If you are in moderately good shape, you should be able to do it (but know you’ll be sore for a few days afterwards!)
I consider myself to be a very out of shape person. As in, I have never been able to run a mile and I do not exercise. For me, this was the most physically challenging activity I have ever done. This was the general consensus from many other people who I talked to as well.
However, for some people in my hiking group, Acatenango was a cakewalk. (And they weren’t even avid hikers.) So it really depends.
If you fall on the spectrum between out of shape to moderately fit, this hike will probably be extremely challenging but doable for you. If you are in good shape, exercise a lot, hike a lot, etc. then you probably won’t struggle as much.
The hike is steadily uphill (sometimes very steep) with little to no flat parts. To reach base camp, you will be hiking from four to five hours depending on your group’s pace, with a stop for lunch and breaks to rest along the way.
On day two, you’ll hike to the summit for another hour and a half in the pitch dark to see the sunrise.
Finally, the descent is much quicker, taking about two hours, but it’s still challenging due to how steep and slippery it is.
In total, you gain about 5,150 feet (1,500 meters) on the 8.6 mile (13.8 kilometer) hike.
🌋 Book your overnight Acatenango hike — some tours sell out!
What to Pack
Most tour companies will provide all your camping gear and have additional cold-weather and hiking gear available to rent for cheap.
If you don’t have any of the following items, you will probably want to rent them. (Tropicana Hostel charges a flat $2 fee to rent whatever you need.)
Clothing
The key here is not to overpack. I’ve seen some Acatenango packing lists that include things like a second outfit to wear on day two and pajamas… That will just add unnecessary weight, and everyone in my group just slept in our clothes and wore them again the next day.
Yes, it’s gross, but it’s just one night!
- Base layer — long sleeve tee-shirt
- Second layer — light sweatshirt/jacket
- Heavy jacket — it gets frigid up at base camp at night!
- Leggings/hiking pants — I was fine with one pair of leggings, but you might want to wear two layers if you get cold easily – again, it’s freezing at night.
- Two pairs of socks — layer up!
- Hat and gloves — I didn’t bring or need these, but if you get cold easily you might want them!
- Bras/underwear
Packing layers is important, because it’s much colder at the top of the volcano than at the bottom. You might also want to remove layers as you work up a sweat. But at the top, it gets extremely cold at night and you’ll be glad to have the extra layers!
Hiking Gear
- Hiking boots — I just wore my tennis shoes because I wasn’t sure renting hiking boots was a wise idea in case they didn’t fit well. But if you have your own pair, definitely wear them. I wish I had!
- Hiking Backpack — make sure it’s lightweight
- Walking Stick — I didn’t use one but it would have been helpful!
- Headlamp — for reaching the summit on day two when it’s still pitch dark outside. Check your batteries!
If you’re not a hiker, these are all things you can rent. I personally rented the hiking backpack and headlamp.
Miscellaneous
- Two or three liters of water — which is about 3/4 of a gallons. I kept a large insulated bottle in the backpack and a smaller one on the side pocket.
- Extra snacks — breakfast, lunch, dinner, after-dinner snacks, and day two breakfast will most likely be provided, but you will want to bring extra snacks like nuts, chocolate, dried fruit, crackers, granola bars, etc.
- Toilet paper — there are outhouses at base camp… enough said.
- Portable cellphone charger — so you don’t run out of battery overnight!
- Ear plugs — you probably won’t be getting much sleep, but these help.
- First aid kit
- Advil — helps with headaches from altitude sickness.
- Toothbrush and toothpaste
- Any other toiletries — be selective. Don’t bring your entire beauty routine!
- Extra cash — you never know if you’ll need it. There’s also a place to stop about halfway to base camp where you can buy food and water if you need some extra.
My Hiking Experience
This is an outline of my personal experience. Feel free to skip ahead for more practical tips!
I did the Acatenango volcano hike with Tropicana Hostel, which I would highly recommend. I had no issues with them and felt it was a good value for the money.
It starts out with an 8 AM arrive to Tropicana Hostel, where you enjoy a breakfast of pancakes, eggs, and fruit on their rooftop terrace. You’ll also have time to rent any hiking gear or outerwear that you need (it’s $2 to rent, with a $2 deposit you’ll get back when you return.)
At 9 AM, we departed for the volcano. My group consisted of only eight people, but I’ve heard it’s common to have up to twenty people in a group. We took a shuttle to the starting point of our hike, which took a little over an hour.
From there, we had some time to stretch and rent any additional gear or buy snacks/water.
We set off around 11 AM for the hike. Right off the bat, I was extremely out of breath due to how steep it was. As I mentioned, this hike is almost 100% uphill with hardly any flat parts. There are also parts that are quite slippery, with loose rocks/dirt. A walking stick might come in handy.
We took frequent breaks, probably every twenty minutes or so. At 1 PM we stopped for lunch, which consisted of a vegetarian burrito, an apple, a brownie, and fruit juice.
Reaching Base Camp
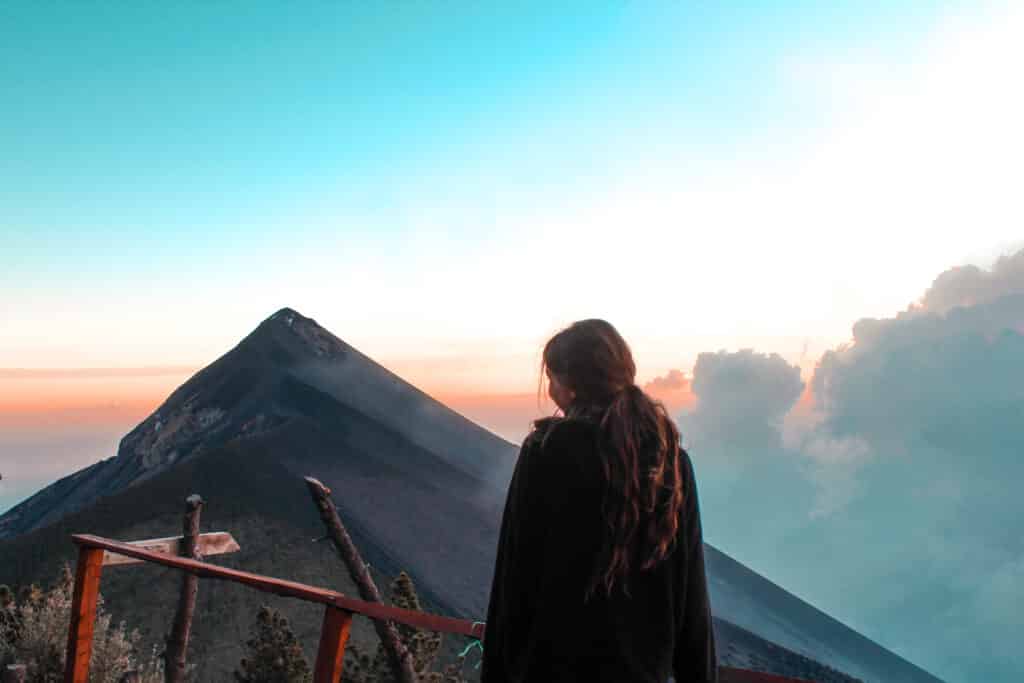
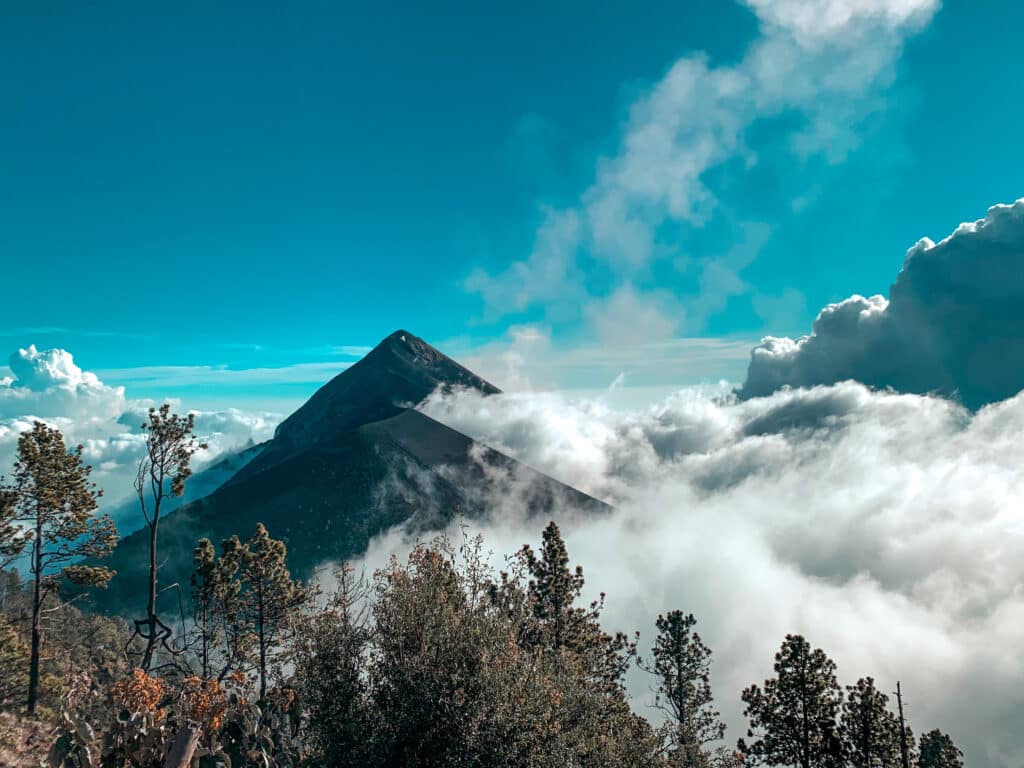
The rest of the hike was just as difficult as the first half, even though I’d been told it gets easier the further up you get. Spoiler alert, it does not! We finally reached base camp around 4 PM and the views were spectacular! With Fuego erupting every thirty minutes or so, it was an incredible sight to behold. The sunset was also stunning.
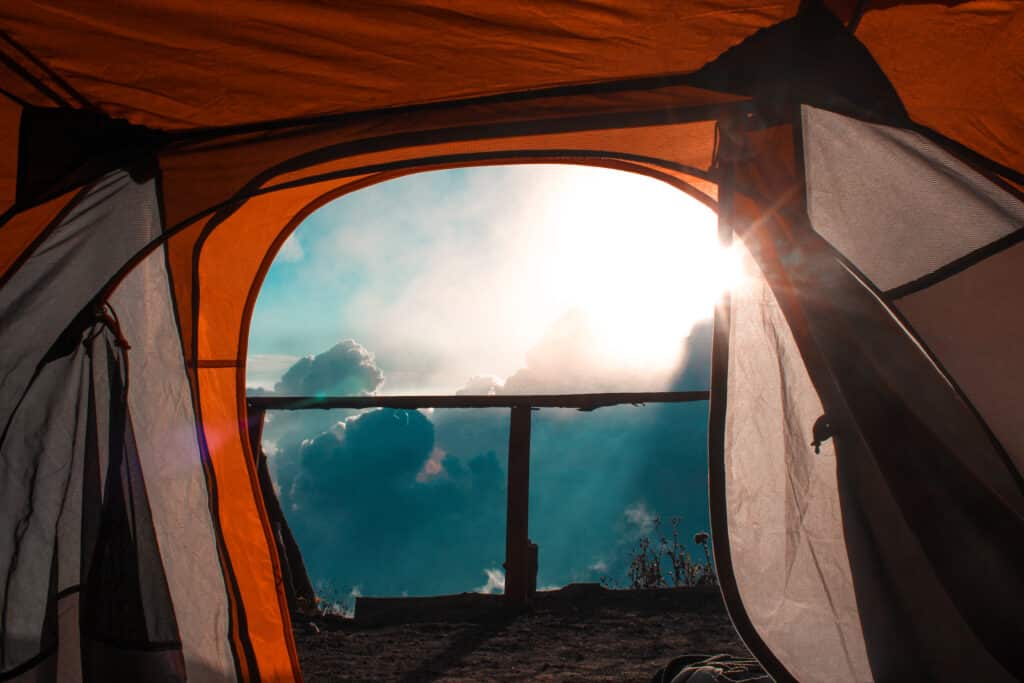
Myself and two other girls in my group promptly headed into our tent to relax until dinnertime, while some of the more adventurous members in our group continued on to hike Fuego.
Around 6 PM we had dinner, which was ramen noodles and a huge plate of rice. Not exactly the most inspiring cuisine, but it was filling. After that, we sat around the campfire for hot chocolate and toasted marshmallows while Fuego erupted glowing red lava.
We hit our sleeping bags early, since we had a 4:15 AM wakeup call to hike the summit in time for sunrise. Of course, I didn’t sleep much. Between the noise of other people in the camp, and the sound of the volcano erupting every twenty minutes, I hardly slept even with my earplugs in.
Failing the Summit
I woke up at 4:15 AM and had two granola bars for “breakfast” because actual breakfast wouldn’t be served until we returned from the summit later in the morning.
One of the other girls in my group had already decided to skip the summit, but I was going to attempt it. I was not thrilled about another hour plus hiking straight uphill in the pitch dark, or particularly confident in my ability to do so, but I decided to try it anyway.
…And then approximately five minutes in, I decided to give up.
There was a zero percent chance my out of shape body could have made it all the way to the summit. I promptly turned around and crawled right back into my tent.
I don’t regret it at all, because we still got to see the sunrise over Fuego from base camp!
A Slippery Descent
Around 7:30 AM, once the rest of our group had returned from the summit, we had breakfast, which was just oatmeal. (Definitely pack some other food for breakfast!)
By 9 AM, we were heading back down Acatenango. It was so much quicker going down, and we reached out starting point in about two hours.
However, the descent was still quite challenging because of how steep and slippery it was. At some points it was so steep that you just have to run because the forward momentum is so strong. With the loose rocks/dirt I ended up slipping and falling quite a few times.
Finally, we made it back to Antigua a little after 12 PM and I immediately went home, showered, and hopped into bed! A great experience, but one I would never do again.
What About Fuego?
It’s also possible to do Fuego in addition to Acatenango, although this is NOT for the faint of heart!
Three members of my group continued on to do Fuego after we arrived at Acatenango base camp in the late afternoon, and they didn’t return until after ten at night!
The cost for continuing on to Fuego is Q200 ($25). It takes an addition four to five hours. While you couldn’t have paid me any amount of money to do that, the up-close photos of the lava from Fuego that the other group members got were insanely cool.
So if you’re up for an extreme challenge, you can tick off both Acatenango and Fuego in one overnight hike.
If you do Fuego, know that you will be hiking back to Acatenango base camp in the dark so you will definitely need a strong headlamp!!
Acatenango Volcano Hike Tips
Finally, here are some tips for when you’re hiking Acatenango…
Pack extra snacks. While guided tours typically provide you with meals, you will definitely want some extra snacks for energy. I recommend snacks like trail mix, nuts, dried fruit, chips/crackers, granola bars, and chocolate. (You can buy some snacks about halfway up where you stop for lunch.)
It’s all mental. I was struggling so much during the entire hike that all I could focus on was putting one foot in front of the other. I kept chanting to myself that I just had to make it to the next rest stop, to lunch, to base camp, etc. Just remind yourself that it’s all temporary and no matter how hard it feels, you’ll be back to civilization within 24 hours with a hot shower waiting for you.
Don’t push yourself. It’s okay if you’re the slowest one in your group (I almost was.) Don’t push yourself beyond your limits or worry about the rest of the group thinking you’re slow.
Get a good headlamp. For the summit attempt, it will be pitch dark. You will want a headlamp (not a flashlight!) to keep your hands free because it’s also almost straight uphill on a very slippery path.
The sunrise is awesome from base camp. No, I didn’t make it to the summit. I turned around after about five minutes because I knew my body physically couldn’t make it. But you know what? The sunrise view from base camp is pretty spectacular too!
So there you have it! I hope you find these tips for the Acatenango volcano hike helpful.
🌋 Ready for your hike? Book your overnight Acatenango tour.
More Guatemala Travel Tips
Looking for more of my travel tips and guides for Guatemala?
You might be interested in the following posts…
- Is Antigua, Guatemala Safe?
- What’s It Like to Study Spanish in Antigua, Guatemala?
- Ultimate Guide to El Paredon, Guatemala
Save it to Pinterest:

About Denise Cruz
Denise is a marketing executive who escaped corporate to travel the world… twice. A Brazilian native living in the U.S., she’s lived in 4 countries and visited 35+ others. After side-hustling her way to financial independence, she curates solo destination guides, slow travel tips, and travel blogging advice on Wander Her Way. When she’s not on the road, you can find her in Miami with her dog Finnegan.


